


So I know we live in this super high-tech, fast-moving world where everything is designed to be faster, easier, more convenient.
But every once in a while I like something that takes time, requires a little skill, and is a bit more involved. Good, homemade handmade lemonade is one of those things.
When I was an itty-bitty thing and my grandma was still alive (she passed away when I was five) she used to make lemonade. Helping her is one of my earliest memories. Now lemonade wasn't a quick-rush thing to her. No, no! You took your time with it. Because if you did, you got something really wonderful.
In my estimation, homemade lemonade is a great way to practice the old will-power muscle. It's not instant gratification. You get the very best results if you wait it out. But the moment you put that sweet nectar to your lips...ahhhhh. You realize it was worth it. Even if the waiting nearly drove you insane. :)
Nik's No-Sugar Added Tropical Lemonade
(The below recipe is what I used for this batch. Each batch can be different, the method of making it remains the same! This makes about 3 quarts of lemonade.)
Ingredients:
- About 10 pineapple cores (see below)
- 2 mango seeds after I cut the flesh off
- 6 c. water
- 2 limes, juiced
- About 8 lemons, juiced
- No-calorie sweetener equivalent to 3 c. sugar (use whatever kind you like but check the conversion chart on the packaging to make sure it matches up against sugar!)
- Another 8 c. (64 oz.) of cold water
Directions:
Pre-Step: Fruit Cores
So I had these two pineapples, right? And I needed to cut them up because they were sitting in my fridge doing absolutely nothing. I know from experience nobody in my family will cut them. They will go bad first. (Yes, that is sad!) So I decided to cut them up along with a mango I had. I wanted to show you a super simple hack for removing the cores of pineapples. I'm sure there are other ways. Please share in the comments!

Step One: Making a flavored simple syrup
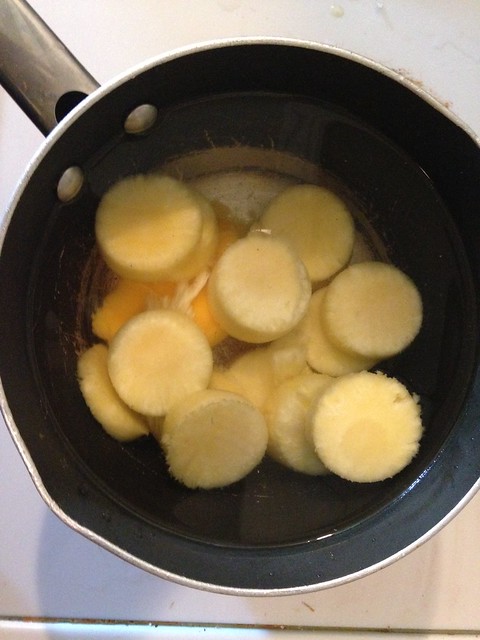
This is usually how I get the non-lemon flavor into lemonade. You don't have to do it this way. You can also:
- Infuse lemonade with flavor by adding fruits or herbs (like mint) to your final product and letting them sit for a long while
- Pureeing fruit and straining out the flesh and adding it during step 4. (This method works especially well with strawberries).
But since I was using the cores of fruit, I incorporated it into my simple syrup by adding 6 cups of water to a sauce pan, dropping the fruit cores in there, turning the heat to high and letting it come to a boil. Then I dropped the heat to medium-low and let it simmer about 10-ish minutes before turning off the burner and letting it sit.
Step Two: Juice the lemons
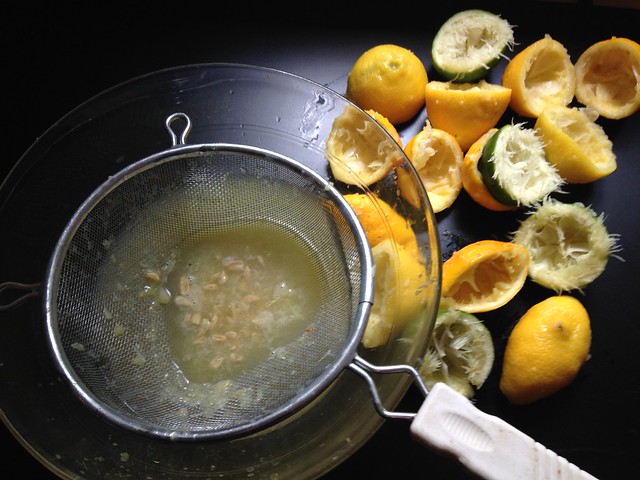
I personally do it the way my grandma did it, which is by hand. But there are lemon juicers out there that do the job very quickly with no mess. I will say, though, that nothing beats how your hands smell after hand-juicing lemons. Since I had lemons and limes on hand, I used both. In general, you need about 8-10 lemons to make a decent sized, share-able pitcher of lemonade. As you can see I squeezed mine into a separate bowl.
Step Three: Complete your simple syrup

Remove the fruit cores from the sauce pan and turn it back on low heat so it stays warm. One at a time, add a cup of sweetener and whisk it in until it completely dissolves. NOTE: If you like less sweet lemonade feel free to use less sweetener than this recipe calls for!
Step Four: Putting it all together
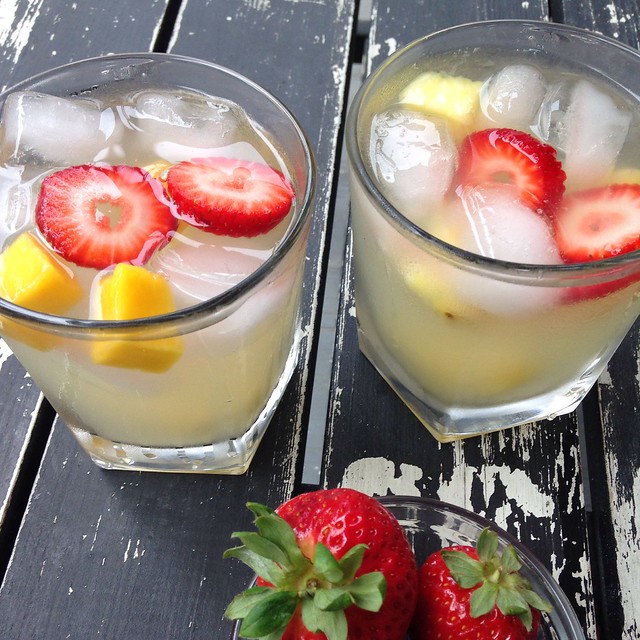
Combine the lemon (and in this case lime) juice with the simple syrup then stir well. Then add that to a large pitcher. Then add the 8 cups of cold water and stir again. Give it a taste. Is it too sweet? Add more water. Is it not sweet enough? Add more sweetener. The tartness should be fine but if it isn't, you can always squeeze another lemon or two and throw the juice in there. I keep it a bit on the sweet side because I know I'll add ice when I serve it and lemonade is a social drink. You sip, you talk, you sip, you talk...I still want my lemonade to be sweet after the ice melts! But that's just me.
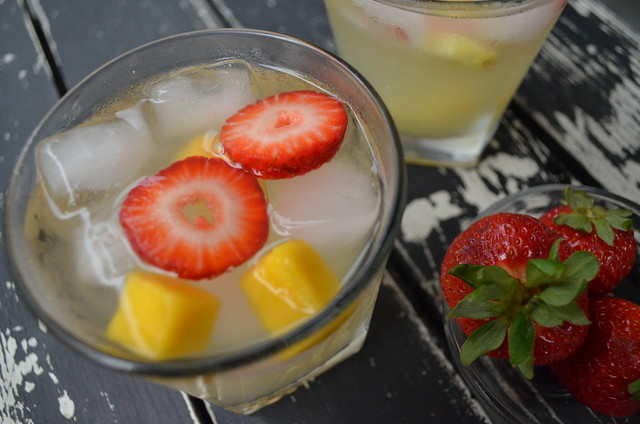
Refrigerate about two hours or until cold. Serve over ice. I serve it with bits of the fruit that's in the lemonade (shown are pineapple and mango bits).
Some other ideas:
Some other ideas:
- If you want/need protein in this, once it's cold add some unflavored protein to your glass. I would say 1/2 serving for every 8 ounces.
- My kids like to add soda water to this (actually the put it through their Soda Stream machine)
- This makes a really great Arnold Palmer with the addition of some home-brewed iced tea (don't mess up the handmade momentum with the instant stuff - it's WORTH the effort!)
Outtake Photos
 |
| Here's the thing that irks me. I spent good money on a good camera...and sometimes my iPhone simply takes the better photo! |
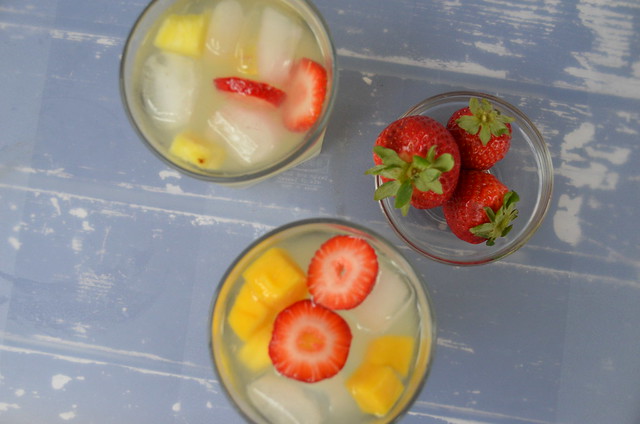 |
| Obligatory direct overhead shot. Note to self: not appealing with drinks! |
 |
| Doesn't that look downright SLURPABLE??? Yum. |


